
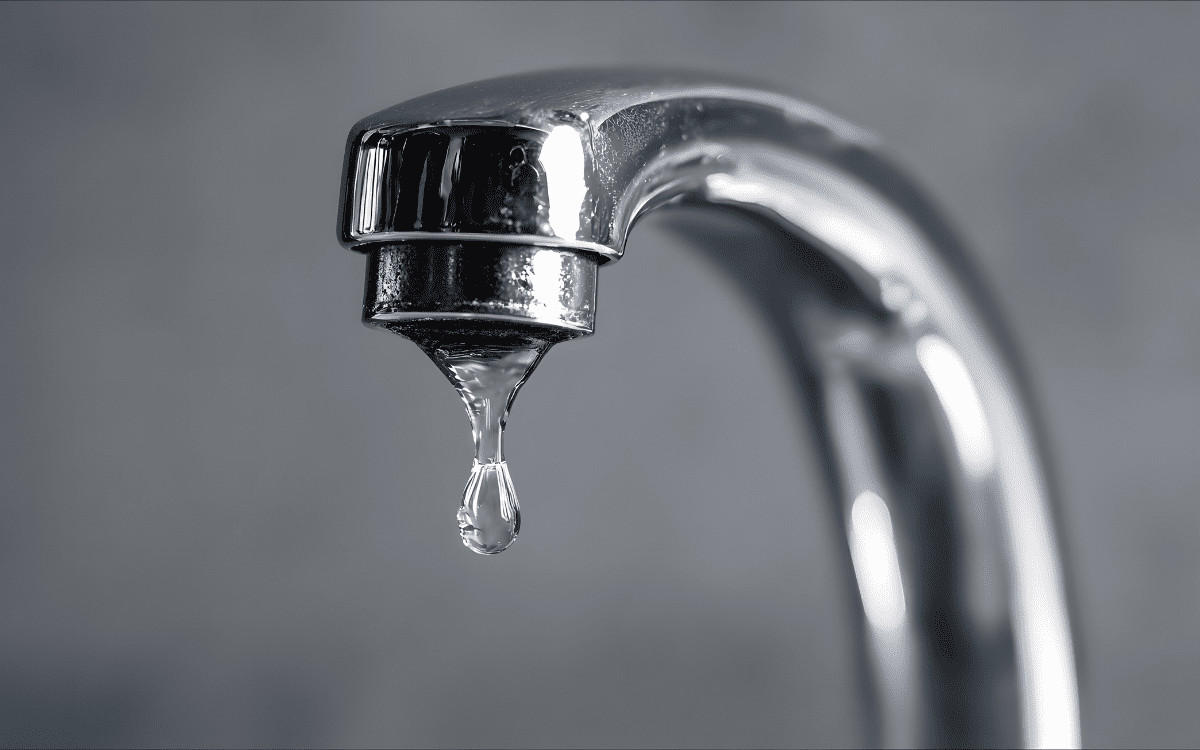
A leaking kitchen faucet is not just an inconvenience; it can lead to significant water waste and higher utility bills. If you’ve been wondering how to fix a leaky kitchen faucet or how do I fix a leaky sink, the good news is that many leaks can be fixed with simple tools and a bit of know-how. In this guide, we’ll walk you through the steps to identify, diagnose, and repair a leaking kitchen faucet before it turns into a bigger plumbing problem.
Identifying the Type of Leak
First, you need to determine where the leak is coming from. Common leak locations include:
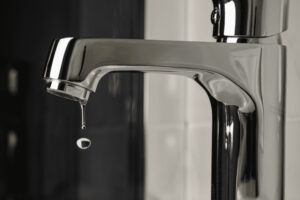
- The Base of the Faucet: Water pooling around the base indicates a leak here.
- The Faucet Handle: Water dripping from the handle usually means the seals inside are worn.
- The Spout: Drips from the spout even when the faucet is off suggest an issue with the valve seat or washer.
Mineral deposits can also contribute to a kitchen sink faucet leaking by preventing internal components from sealing properly.
To accurately identify the source, dry the faucet and turn it on to observe where the water starts leaking.
Tools and Materials Needed
Before you begin, gather the following tools and materials:
- Adjustable wrench
- Phillips and flat-head screwdrivers
- Teflon tape
- Replacement parts such as O-rings, valve seats, washers (specific to your faucet model)
- Plumber’s grease
- Needle-nose pliers
- Allen wrench (for certain faucet types)
Safety Precautions and Preparation
Safety and preparation are crucial to a smooth repair process:
- Turn Off the Water Supply: Locate the valves under the sink and shut them off completely before turning the water off at the faucet. If your home doesn’t have shutoff valves, turn off the main water supply.
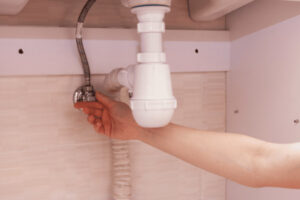
- Clear the Work Area: Remove any items from under the sink and place a plug in the drain to prevent losing small parts.
- Release Pressure: Open the faucet to release any remaining water in the lines.
- Prepare the Tools and Materials: Arrange all necessary tools and replacement parts within easy reach.
Step-by-Step Repair Guide
For Leaks at the Faucet Base
- Tighten the Base:
- Use an adjustable wrench to tighten the mounting nut located under the sink. This nut secures the faucet to the sink and may loosen over time.
- Replace Worn O-Rings:
- Turn Off the Water Supply: Ensure both hot and cold water supplies are off.
- Remove the Faucet Handle: Depending on the faucet design, use an Allen wrench or a screwdriver to remove the handle. This might involve removing a decorative cap to access the screw.
- Remove the Spout: Once the handle is off, you may need to unscrew a retaining nut or use a spanner wrench to lift off the spout.
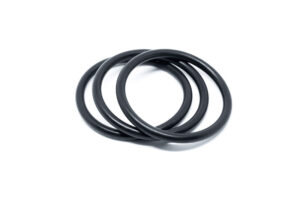
- Replace the O-Rings: Inspect the O-rings for wear or damage. Use needle-nose pliers to remove the old O-rings, apply plumber’s grease to the new O-rings, and slide them into place.
-
- Reassemble the Faucet: Reassemble the spout and handle in reverse order of disassembly.
- Turn On the Water Supply: Gradually turn on the water supply and check for leaks.
For Leaks from the Handle
- Disassemble the Handle:
- Turn Off the Water Supply: Make sure the water is turned off to prevent a mess.
- Remove the Handle: Use a screwdriver or Allen wrench to remove the screw holding the handle in place. Lift off the handle.

-
- Remove the Cartridge or Stem: Depending on your faucet type, you might have a cartridge or stem inside. Use pliers to remove any retaining clips, then pull out the cartridge or stem.
- Replace Worn Parts:
- Inspect and Identify: Look for worn or damaged parts such as O-rings, seals, or the cartridge itself.
- Purchase Replacement Parts: Take the worn parts to a hardware store to get exact replacements.
- Install New Parts: Install the new O-rings, seals, or cartridge. Apply plumber’s grease to O-rings and seals for better performance.
- Reassemble the Handle: Put the handle back together by reversing the disassembly steps.
- Turn On the Water Supply: Slowly turn on the water supply and check for leaks.
For Spout Leaks
- Replace the Valve Seat or Washer:
- Turn Off the Water Supply: Ensure the water is off.
- Remove the Handle and Spout: Use a screwdriver or Allen wrench to remove the handle. Remove any nuts or screws holding the spout in place and lift off the spout.
-
- Access the Valve Seat and Washer: Use a wrench to remove the valve seat. Inspect it for wear or damage. Similarly, locate the washer and inspect it.
- Replace Worn Parts: Replace the valve seat and washer with new ones. Use a seat wrench to remove the valve seat if necessary. Apply plumber’s grease to the new washer.
- Reassemble the Faucet: Put the spout and handle back in place, securing them with screws or nuts.
- Turn On the Water Supply: Turn on the water supply and check for leaks.
Testing and Troubleshooting
After completing the repairs:
- Turn the Water Back On: Slowly turn on the water supply to the faucet.
- Check for Leaks: Observe the faucet closely for any signs of leakage.
- Troubleshoot: If your kitchen faucet is leaking after replacing the parts, inspect each component again to ensure everything is installed correctly. Mineral deposits left behind inside the faucet body may also prevent a proper seal.
Preventive Maintenance
To prevent future leaks:
- Regular Maintenance: Periodically check and replace worn parts before they fail.
- Avoid Over-Tightening: Over-tightening can damage parts and cause leaks.
- Gentle Use: Handle the faucet gently to extend its lifespan.
When to Call a Professional
Sometimes, a kitchen sink faucet leaking is caused by damaged plumbing connections, corrosion, or hidden issues that aren’t visible during a DIY repair. If you’ve attempted to repair a leaking kitchen faucet and the problem continues, or if the faucet body itself is cracked, it’s time to call a licensed plumber. Professional repairs can save time, prevent water damage, and ensure your plumbing system operates properly.
Fixing a leaky kitchen faucet is a manageable task with the right tools and knowledge. By identifying the type of leak, using the appropriate parts, and following a step-by-step guide, you’ll have a better understanding of how to repair a leaky kitchen faucet and keep your plumbing working efficiently.